How to Make a Personalized Coloring Book From Your Own Photos (a Gift Project, Start to Finish)
A coloring book of the family dog, the grandparents’ house, last summer’s lake — made from your own photos and bound in an afternoon. Which photos to pick, how to convert them, how to lay out and print, and how to bind it so it opens flat. A start-to-finish gift project.
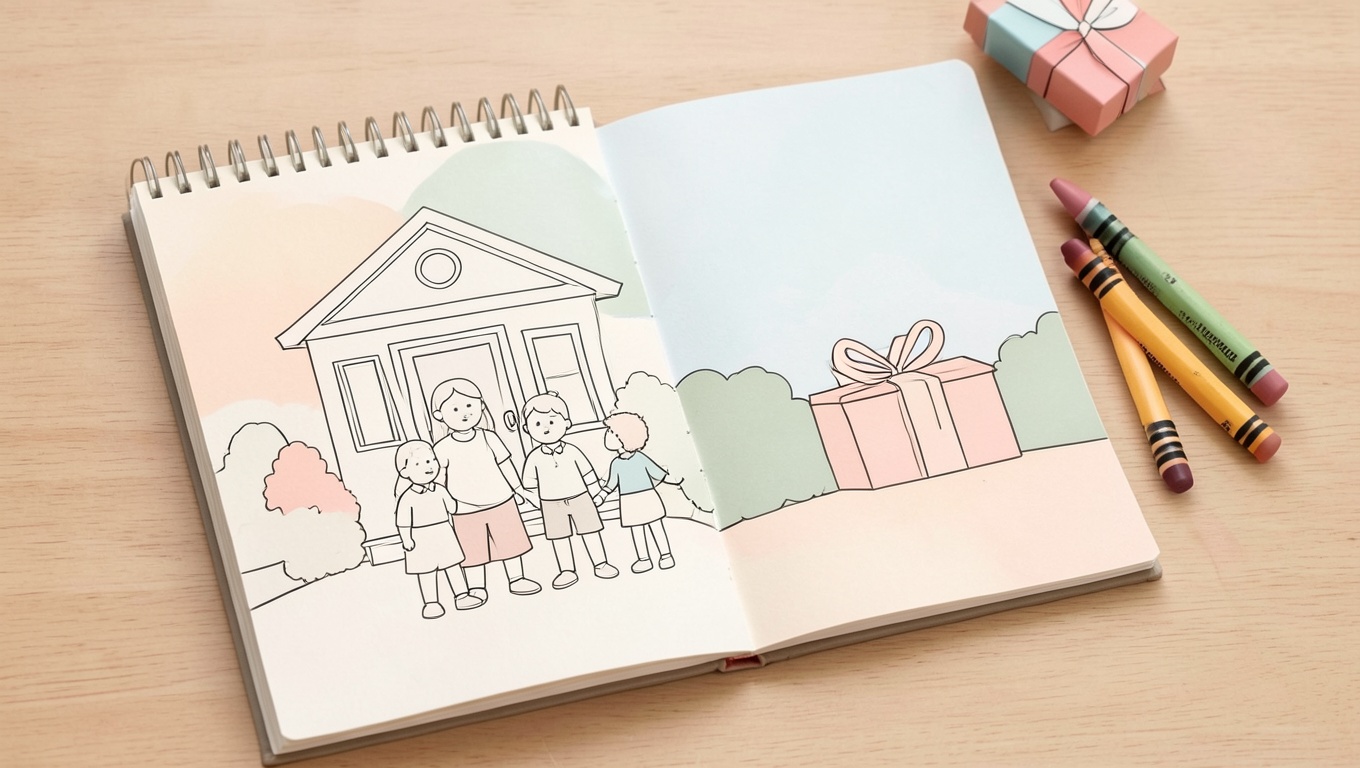
Short answer: choose 10–20 photos with one clear subject each, convert them to clean outlines (an AI photo-to-coloring-page tool for most, tracing for anything that must be simple or exact), lay them out single-sided at letter size with a title page, print on 24–32 lb paper or light cardstock, and bind with a spiral, comb or simple staples-and-tape. The whole thing takes an afternoon once the photos are chosen, costs very little, and is the kind of gift that gets used rather than displayed. Here’s the full walkthrough, including the parts that go wrong.
Step 1: Pick photos that will convert (this is 80% of the result)
Every conversion method works from edges and contrast, so the photos decide the book. Look for:
- One clear subject per photo — the dog, a face, a person on a bike, the house, a favorite toy, a boat, a tree in the garden.
- A plain or soft background. Skies, walls, grass (not busy foliage), water.
- Even light, no harsh shadows. Overcast days and indoor window light convert beautifully; midday sun makes black blobs.
- Sharp and reasonably large. Originals from the phone’s camera roll, not screenshots or chat-app copies.
- Big simple forms. Short-haired pets, faces, vehicles, buildings, large flowers. Avoid fur, feathers, lace, and groups of small faces.
Aim for 10–20. Mix subjects — people, places, pets, objects — so the book has a rhythm. For a child, include things they recognize: their own room, their bike, the family car. For a grandparent, their garden, their old house, the grandchildren one at a time. Crop each photo tightly to the subject before converting; it improves everything downstream.
Step 2: Convert each photo to a coloring page
Use the method that fits the photo — our full comparison is in how to turn a photo into a coloring page. The short version for a gift book:
- AI photo-to-coloring-page tool (including ColorThese’s photo mode) for most pages: fastest, handles pets, people and outdoor scenes, produces closed, colorable shapes. Check likenesses — pets are reliably recognizable; specific faces sometimes need a second try with a better photo.
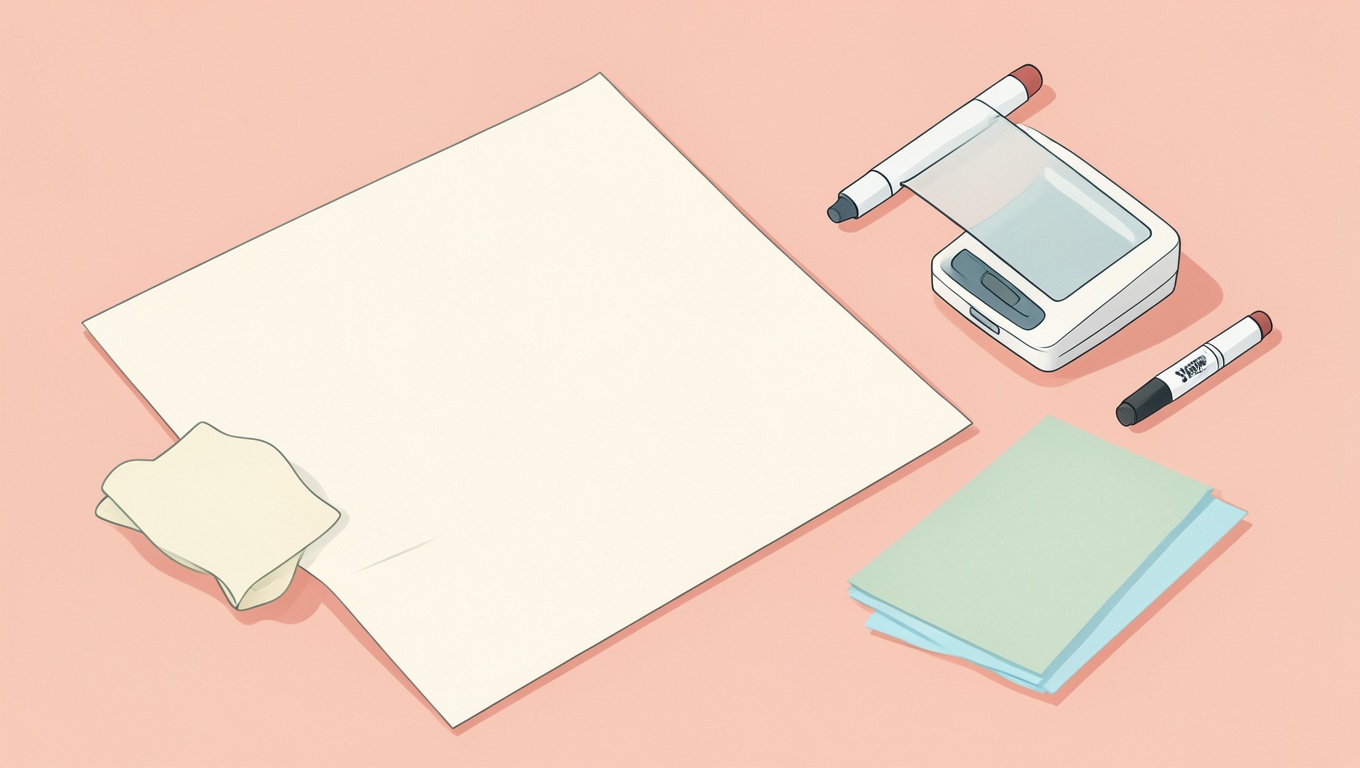
- Tracing (on a tablet, or on a window with a marker) for pages that must be simple — a toddler’s page — or exactly faithful.
- Photoshop/GIMP “find edges + threshold” if you want pixel-faithful lines and have the patience to clean up.
Decide the detail level for the recipient before you start and keep it consistent: bold and simple for a young child (see what makes a toddler page work), medium for older kids and most adults, and bolder, larger shapes for an older relative (see coloring for seniors). Export each page as a PNG at about 2550 × 3300 px, pure black on white; if lines came out thin, thicken them before layout.
Step 3: Lay it out
- Open a letter (or A4) document in whatever you’re comfortable with: Canva (see how to make coloring pages in Canva), Word, Pages, Affinity, InDesign.
- Page 1: a title page — “Nana’s Garden Coloring Book,” “Our Summer at the Lake,” the year, “made with love by…”. Keep it simple; you can drop in one of the line-art pages as a small illustration.
- Page 2 (optional): a short note, or a “test your colors here” box.
- One drawing per page, single-sided, centered inside a 0.5-in margin. A short caption under each (“Biscuit, age 2,” “The lake house, July”) makes it a memory book as well as a coloring book.
- Keep the backs blank if markers are likely; or put a tiny caption or pattern on the back so a blank page doesn’t look like a mistake.
- Export as a single PDF.
Step 4: Print
- Paper: 24–32 lb (90–120 gsm) for a nice feel and pencils; 65 lb smooth cardstock if the recipient uses markers. Weights and what your printer feeds are in best paper for coloring pages.
- Settings: grayscale, Normal/High quality, 100% or “fit to printable area,” single-sided — the checklist in how to print coloring pages without blurry lines.
- Cover: print the title page on cardstock; a clear plastic report cover or a second cardstock sheet protects it.
- Print shop: if your printer won’t feed cardstock or you want 30 copies for a party, take the PDF to a copy shop and ask for single-sided on 28–32 lb or 65 lb cover, with a spiral bind — they’ll do all of it.
Step 5: Bind it so it opens flat
A coloring book needs to lie flat, which rules out most glue bindings. Options, from simplest:
- Staple and tape: two or three staples down the left edge, then a strip of colored washi or cloth tape over the spine. Surprisingly durable for a thin book; doesn’t lie perfectly flat.
- Binder rings or a treasury tag: punch two or three holes and use loose-leaf rings. Lies flat, pages turn fully, and you can add pages later. Cheap and good for kids.
- Comb or spiral binding: a copy shop will do it for a dollar or two; home comb binders exist. Lies flat, looks “real.” Spiral is the classic coloring-book feel.
- Sewn pamphlet (saddle stitch): fold letter sheets in half for a half-letter booklet, sew or staple the fold. Lovely, but half-letter halves your line weight and page area — fine for adult detail, less good for small kids.
Finishing touches
- Tuck a small set of colored pencils or crayons into the gift — which, by age — so it’s usable the moment it’s opened.
- Leave one blank page at the back: “draw your own.”
- Keep the PDF. When it’s colored in (or when the dog eats it), print another; and next year’s edition is just new photos.
- For a party: one booklet per child with the birthday child’s pet, house and cake, plus a page for each guest with their own name. That’s a favor people keep.
Things that go wrong, and how to avoid them
- A face doesn’t look like the person. Use a clearer, closer, front-lit photo; try a second conversion; or trace that one page by hand. Pets are forgiving; people less so.
- Pages vary wildly in detail. Decide the level up front and reject conversions that don’t match; a consistent book is nicer than a complete one.
- Thin, soft lines on paper. The source PNG was too small or was enlarged in layout; re-export at full size — see coloring page size and resolution.
- Marker bleed ruins the next page. Single-sided, and cardstock if the recipient is a marker person.
- The book won’t stay open. Use rings, comb or spiral instead of staples or glue.
Privacy and other people’s photos
Your family, your call. For a book that includes other people — party guests, friends’ kids — ask before you upload their photos to any service, and before you print a book that goes to other households. Most people say yes enthusiastically; asking is still right.
Frequently asked questions
How do I make a coloring book from my own photos?
Pick 10–20 single-subject photos, convert each to line art (AI tool or tracing), lay them out single-sided at letter size with a title page, print on 24–32 lb paper or cardstock, and bind with rings, comb or spiral.
What’s the best app to turn photos into a coloring book?
Any AI photo-to-coloring-page converter for the pages, plus a layout tool (Canva, Word, Pages) for the book. Our photo conversion guide compares the methods.
How many pages should a personalized coloring book have?
10–20 drawings is a satisfying gift without becoming a chore to make. Single-sided, so 20 drawings is a 40-page booklet if backs are blank.
What paper should I print a homemade coloring book on?
24–32 lb for pencils and crayons; 65 lb smooth cardstock for markers. Cardstock for the cover.
Can I get a photo coloring book printed professionally?
Yes — take the PDF to a copy shop for single-sided printing and spiral binding, or use a print-on-demand service if you want many copies; see our KDP guide for specs if you go that route.
If you want to pad a thin book with a few more pages in the same spirit, our free coloring pages include plenty of pets, houses and seasons that sit comfortably alongside your own photos.